Fashion
How to Sew a Zipper: A Complete Step-by-Step Guide for Beginners (2026)

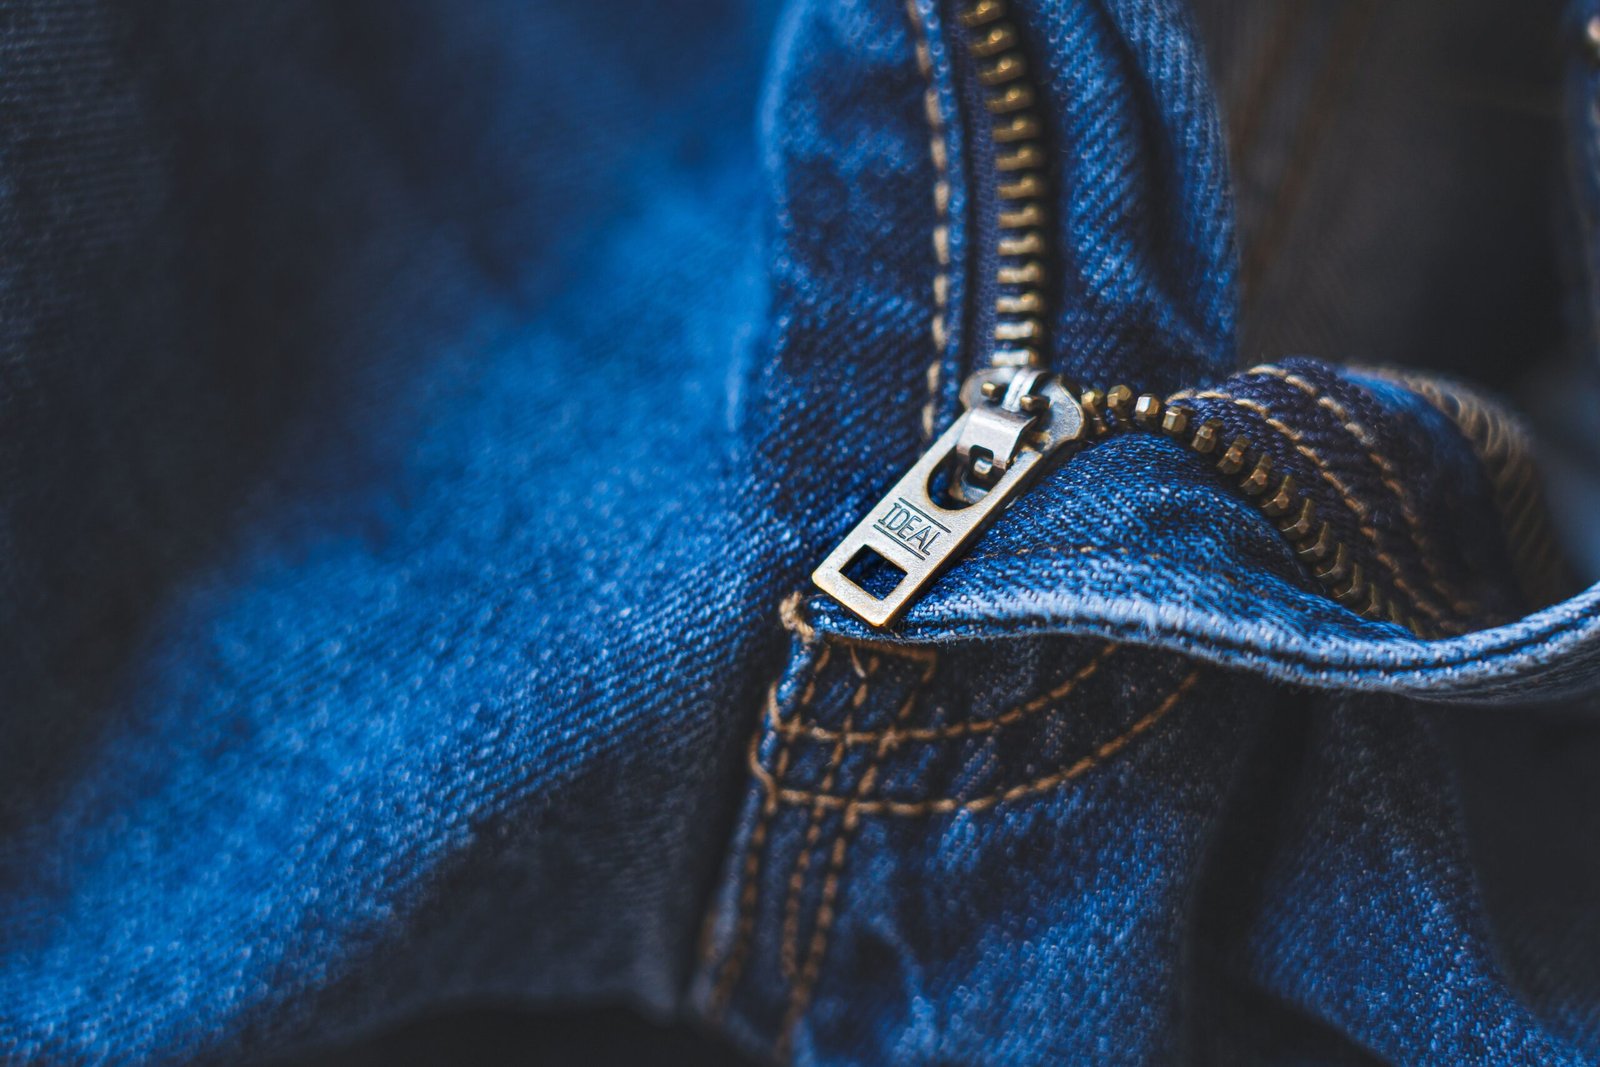
Learning how to sew a zipper is an essential skill for anyone interested in sewing, clothing repairs, or DIY fashion projects. Although installing a zipper may seem difficult at first, the process becomes much easier when you understand the correct techniques and use the right tools. Whether you want to add a zipper to a dress, skirt, pillow, bag, or pair of trousers, you can achieve professional-looking results with a little practice.
A properly sewn zipper makes clothing and accessories more functional, comfortable, and attractive. In this beginner-friendly guide, you will discover how to choose the right zipper, prepare your fabric, install different zipper styles, and avoid common sewing mistakes. By following these practical instructions, you can confidently complete your first zipper project at home.
What Do You Need to Sew a Zipper?
Before learning how to sew a zipper, it is important to gather all the necessary sewing supplies. Having everything ready will make the process easier and help you achieve neat, consistent stitches. You do not need expensive equipment to get started.
Here are the basic tools you should prepare:
- Zipper: Choose a zipper that matches your fabric and project.
- Sewing machine: A regular sewing machine is suitable for most zipper projects.
- Zipper presser foot: This special foot helps you sew close to zipper teeth.
- Matching thread: Select a thread that blends with your fabric.
- Fabric scissors: Use sharp scissors for clean and accurate cutting.
- Pins or sewing clips: These keep the zipper and fabric in position.
- Measuring tape: Helps you measure the correct zipper placement.
- Seam ripper: Useful for removing incorrect stitches.
- Iron: Helps create smooth fabric edges and professional-looking seams.
If you are a complete beginner, start with a simple cotton fabric and an ordinary polyester zipper. These materials are generally easier to handle than slippery fabrics or heavy-duty zippers.
How to Prepare Fabric Before Sewing a Zipper
Proper preparation is one of the most important steps when installing a zipper. If your fabric is uneven, folded incorrectly, or poorly measured, the finished zipper may look crooked or create unwanted wrinkles.
First, measure the opening where you want to install the zipper. Make sure the zipper is suitable for the length of the opening and the type of project you are completing. If necessary, mark the zipper position using fabric chalk or a washable fabric marker.
Next, finish the raw fabric edges if your project requires it. You can use a zigzag stitch or an overlocking machine to prevent fraying. Press the fabric with an iron to create straight, clean edges before attaching the zipper.
Place the two fabric pieces together with their right sides facing each other. Pin the seam where the zipper will be installed and sew it using a regular straight stitch. If you are installing a centered zipper, use a temporary long stitch along the zipper opening. This will help keep the fabric aligned while you attach the zipper.
How to Sew a Zipper Step by Step
Once your fabric and tools are ready, you can begin installing the zipper. The following method explains how to sew a basic centered zipper using a sewing machine. It is suitable for beginners who want to learn a reliable technique.
Step 1: Position the Zipper
Place the zipper face down over the seam allowance, aligning its teeth with the center of the seam. Make sure the zipper pull is positioned correctly and the zipper is straight. Use pins or sewing clips to hold everything securely in place.
Step 2: Attach the Zipper Foot
Remove the regular presser foot from your sewing machine and attach the zipper foot. This attachment allows the needle to sew close to the zipper teeth without interfering with them. Check your machine’s instructions to position the foot correctly.
Step 3: Sew One Side of the Zipper
Start sewing from the top of the zipper opening and move downward along one side. Keep your stitches straight and maintain an even distance from the zipper teeth. Avoid pulling the fabric because this can create uneven stitching.
Step 4: Sew the Other Side
Repeat the same process on the opposite side of the zipper. Make sure the fabric remains smooth and the zipper teeth stay properly aligned. If you are sewing a centered zipper, check that both sides look symmetrical.
Step 5: Close the Bottom of the Opening
If you used temporary stitches to close the seam, carefully remove them with a seam ripper. Open and close the zipper to check whether it moves smoothly. Finally, inspect the stitching and remove any loose threads.
Your zipper should now be securely attached and ready to use.
Different Types of Zippers You Can Sew
Not every sewing project requires the same type of zipper. Understanding the different options will help you choose the most suitable style for your clothing, bags, and home decoration projects.
1. Centered Zipper: This is one of the easiest zipper styles for beginners. The zipper is placed underneath the seam, with fabric covering both sides of the zipper tape. It is commonly used in skirts, dresses, and cushions.
2. Invisible Zipper: An invisible zipper is designed to blend into the fabric, making it almost impossible to see when closed. It is commonly used in formal dresses, skirts, and fitted garments. A special invisible zipper foot can make installation easier.
3. Exposed Zipper: An exposed zipper is intentionally visible on the outside of a garment. It can add a decorative element to jackets, dresses, backpacks, and fashion accessories.
4. Lapped Zipper: A lapped zipper has fabric covering one side of the zipper teeth. It provides a clean appearance and is frequently used in trousers, skirts, and other garments.
5. Separating Zipper: This zipper completely separates into two pieces when opened. It is commonly used in jackets, hoodies, coats, and other outerwear.
Choosing the correct zipper depends on your fabric thickness, design, and intended use. Always check the zipper length and weight before purchasing it.
Common Mistakes to Avoid When Sewing a Zipper
Even experienced sewing enthusiasts sometimes make mistakes when installing zippers. Fortunately, most problems can be avoided by working carefully and checking your progress throughout the project.
One common mistake is choosing the wrong zipper length. A zipper that is too short or too long can make the finished garment uncomfortable or difficult to use. Always measure the opening before buying a zipper.
Another mistake is sewing too close to the zipper teeth. If your stitches are too close, the zipper slider may become difficult to move. Use a zipper foot and maintain enough space for smooth operation.
Beginners also sometimes forget to press their fabric before sewing. Wrinkled fabric can create uneven seams and make the zipper look unprofessional. Pressing the fabric before and after installation helps produce better results.
Finally, avoid sewing too quickly. Rushing can cause crooked stitching, uneven fabric edges, or broken needles. Take your time, use the correct needle for your fabric, and test the zipper before finishing the project.
Tips for Getting Professional Results When Sewing a Zipper
If you want your finished zipper to look clean and professional, a few simple techniques can make a significant difference. Good preparation, accurate measurements, and consistent stitching are more important than expensive sewing equipment.
Start by practicing on a spare piece of fabric before working on your actual project. This allows you to understand how your sewing machine handles the zipper and fabric combination. You can also experiment with different stitch lengths to find the best setting.
Always use a suitable sewing machine needle. A universal needle works well for many woven fabrics, while heavier materials may require a stronger needle. For delicate fabrics, select a suitable fine needle to prevent unnecessary holes or damage.
Another useful tip is to keep the zipper closed while checking its alignment. This makes it easier to identify uneven edges and mismatched fabric sections. After sewing, test the zipper several times to ensure that it opens and closes without catching the fabric.
With regular practice, you will become more comfortable installing different zipper styles and handling more complicated sewing projects.
Frequently Asked Questions (FAQs)
1. Is sewing a zipper difficult for beginners?
No, sewing a zipper is not particularly difficult when you follow the correct steps. Beginners should start with a centered zipper because it is relatively simple to install. Practicing on scrap fabric can help build confidence.
2. Can I sew a zipper without a sewing machine?
Yes, you can sew a zipper by hand using a needle and strong thread. However, hand sewing takes more time and requires careful, consistent stitches. A sewing machine is generally faster and produces more uniform results.
3. Do I need a special foot to sew a zipper?
A zipper presser foot is highly recommended because it allows you to stitch close to the zipper teeth. Some machines also support invisible zipper feet for installing invisible zippers.
4. Why does my zipper look wavy after sewing?
A wavy zipper can result from stretching the fabric, uneven stitching, or incorrect zipper placement. Try stabilizing delicate fabric, avoiding excessive pulling, and pressing the finished seam carefully.
5. What is the easiest zipper to sew for beginners?
A standard polyester zipper is a good starting choice. It is flexible, widely available, and suitable for many beginner sewing projects.
6. Can I sew a zipper into fabric without damaging it?
Yes. Use the correct needle, suitable thread, and gentle sewing techniques. Testing your stitches on a spare fabric piece can help prevent damage to your main project.
Conclusion
Learning how to sew a zipper is a valuable skill that can improve your sewing abilities and open the door to many creative projects. From simple cushions and skirts to dresses, jackets, and handmade bags, zipper installation allows you to create practical and attractive items at home.
The key to successful zipper sewing is proper preparation, accurate measurement, correct zipper placement, and careful stitching. Start with a basic centered zipper, practice on spare fabric, and gradually explore invisible, exposed, and separating zippers. With patience and consistent practice, you can achieve neat, durable, and professional-looking results even as a beginner.



 Lifestyle4 months ago
Ibrahim Chappelle Biography: Family, Background, and Life Story
- Entertainment4 months ago
Audio Renderer Error Ryujinx: Causes, Fixes, and Complete Troubleshooting Guide
- Lifestyle4 months ago
Drew Ann Reid: Life Beyond the Spotlight
- Blogs4 months ago
28 Days From Today: Complete Date Calculation Guide
- Tech4 months ago
Network Node Explained: Functions, Types, and Uses
- Business4 months ago
Michigan Business Entity Search for LLCs, Corporations, and Nonprofits
- Sports4 months ago
Virat Kohli: The Complete Biography of India’s Cricket Legend
- Tech4 months ago
Submarine Technology: How Modern Submarines Work